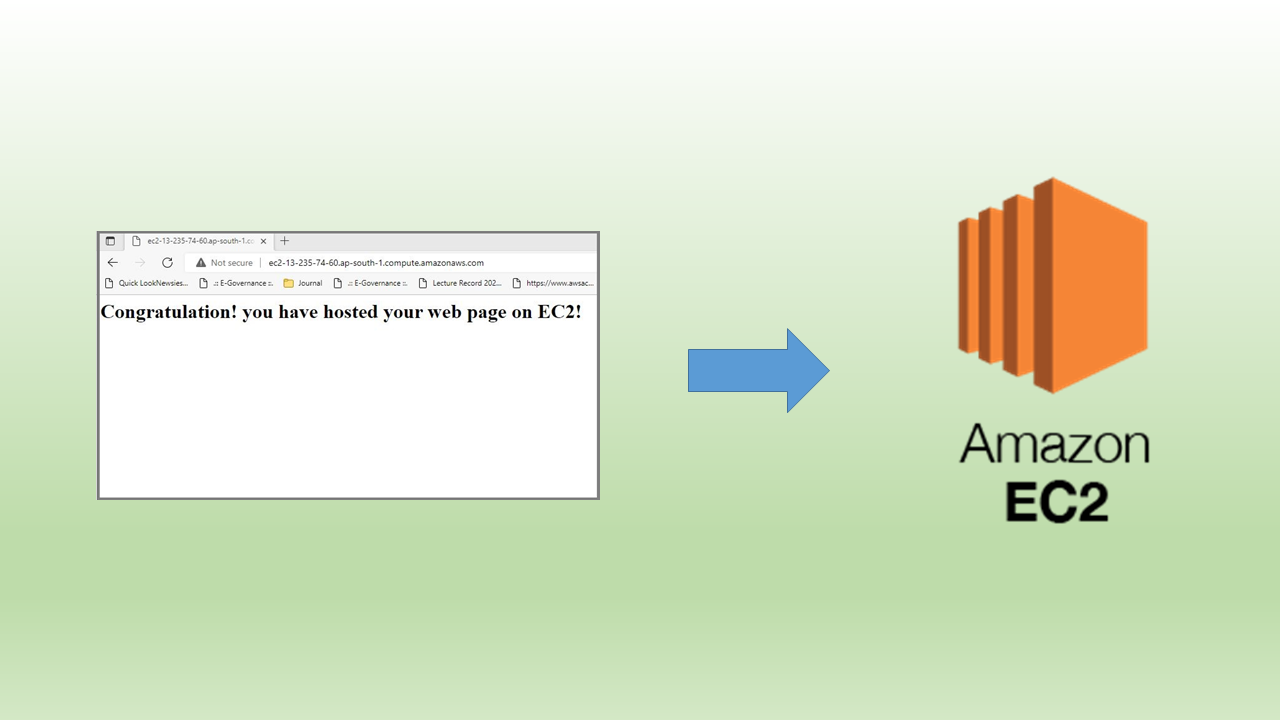
In this Blog, you'll learn how to create a webpage on a Linux EC2 instance using practical steps and the AWS CLI. We'll cover everything from setting up the instance to deploying your website.
Steps to create html web page on EC2 instance
Practical Steps to create webpage on Linux EC2 instance
Here is a practical step-by-step guide to create an HTML web page on an EC2 instance:
Launch an EC2 instance: Go to the Amazon EC2 console, choose an Amazon Linux AMI, and launch a new EC2 instance.
Connect to your EC2 instance: Connect to your EC2 instance using an SSH client like PuTTY, if you are using Windows.
Install Apache Web Server: In the terminal, run the following command to install the Apache web server:
sudo yum install httpd
Start the Apache web server: Start the Apache web server by running the following command:
sudo service httpd start
Create an HTML file: In the terminal, use a text editor like nano to create an HTML file:
sudo nano /var/www/html/index.html
Add HTML content: In the text editor, add some basic HTML content such as:
<html>
<head>
<title>My first EC2 Web Page</title>
</head>
<body>
<h1>Hello World!</h1>
</body>
</html>
Save and exit the text editor: Save the file and exit the text editor by pressing Ctrl + X, Y, and Enter.
Test the web page: In a web browser, access the public IP address of your EC2 instance to view the web page.
Update the security group: To make the web page accessible from the internet, you need to open port 80 in the security group of your EC2 instance.
That's it! These steps should allow you to serve an HTML web page from an EC2 instance.
Reference links:
https://docs.aws.amazon.com/en_us/AmazonECS/latest/developerguide/Welcome.html


